Air Guitar
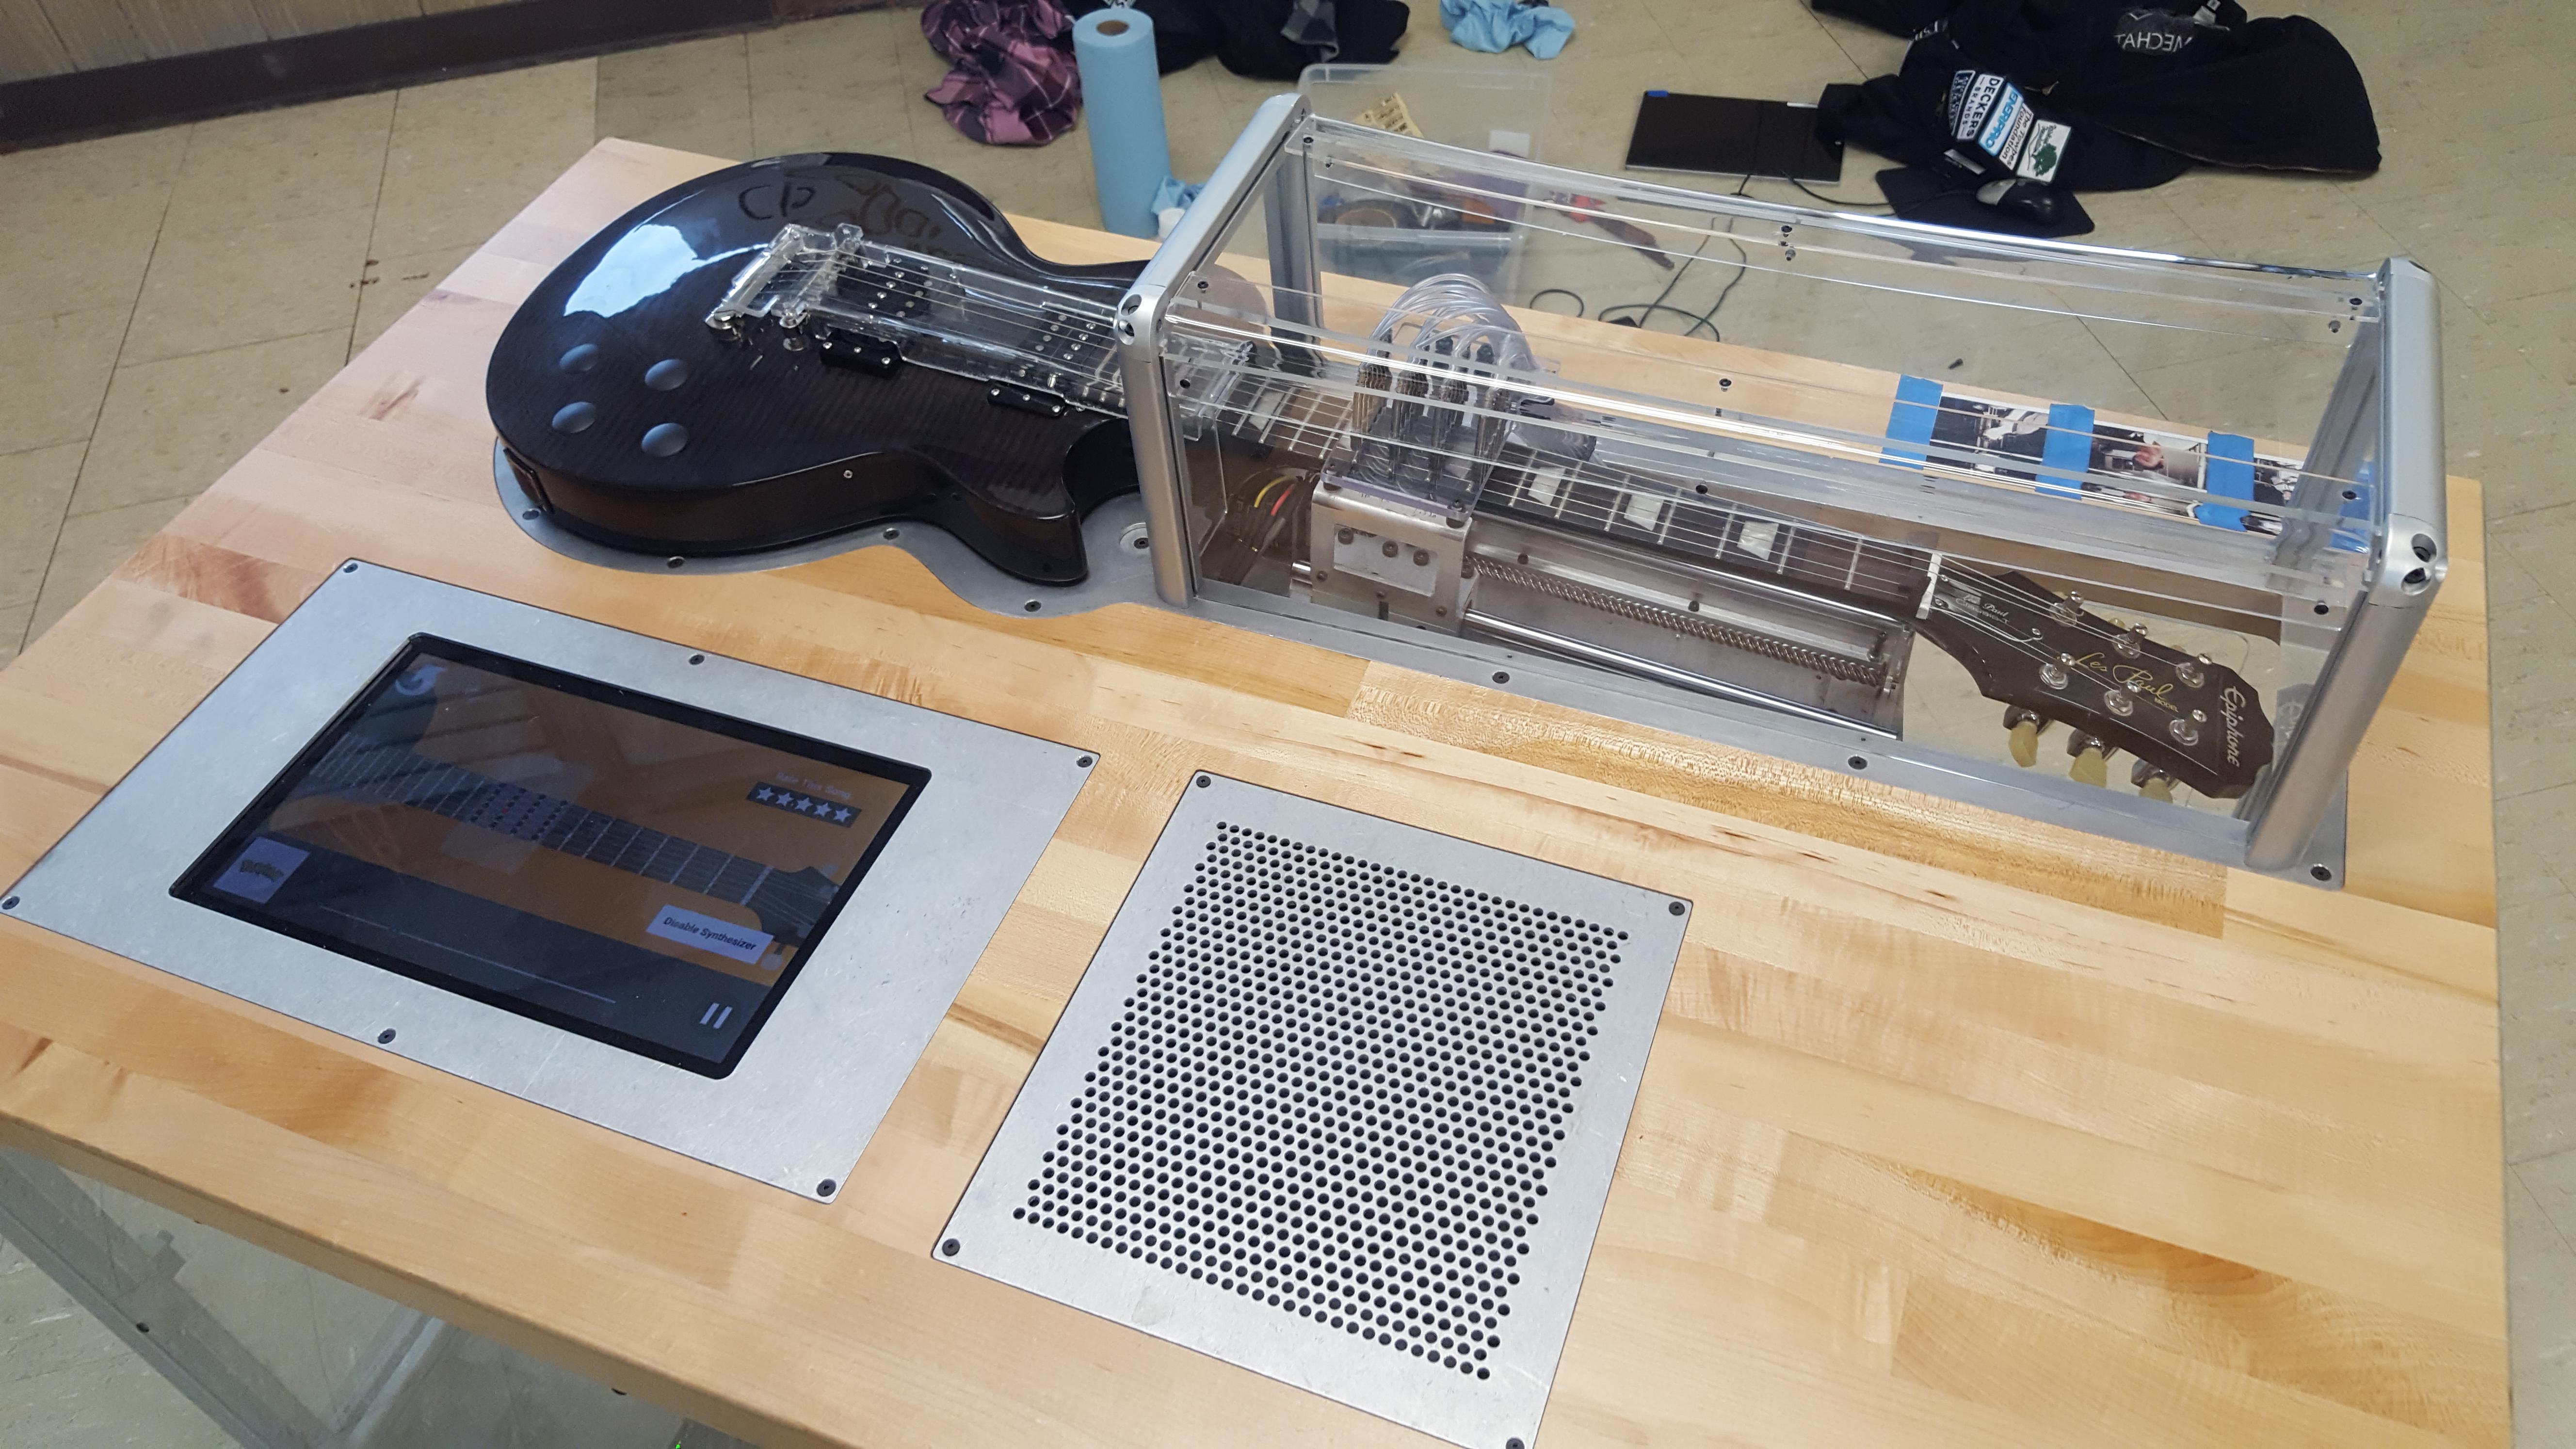
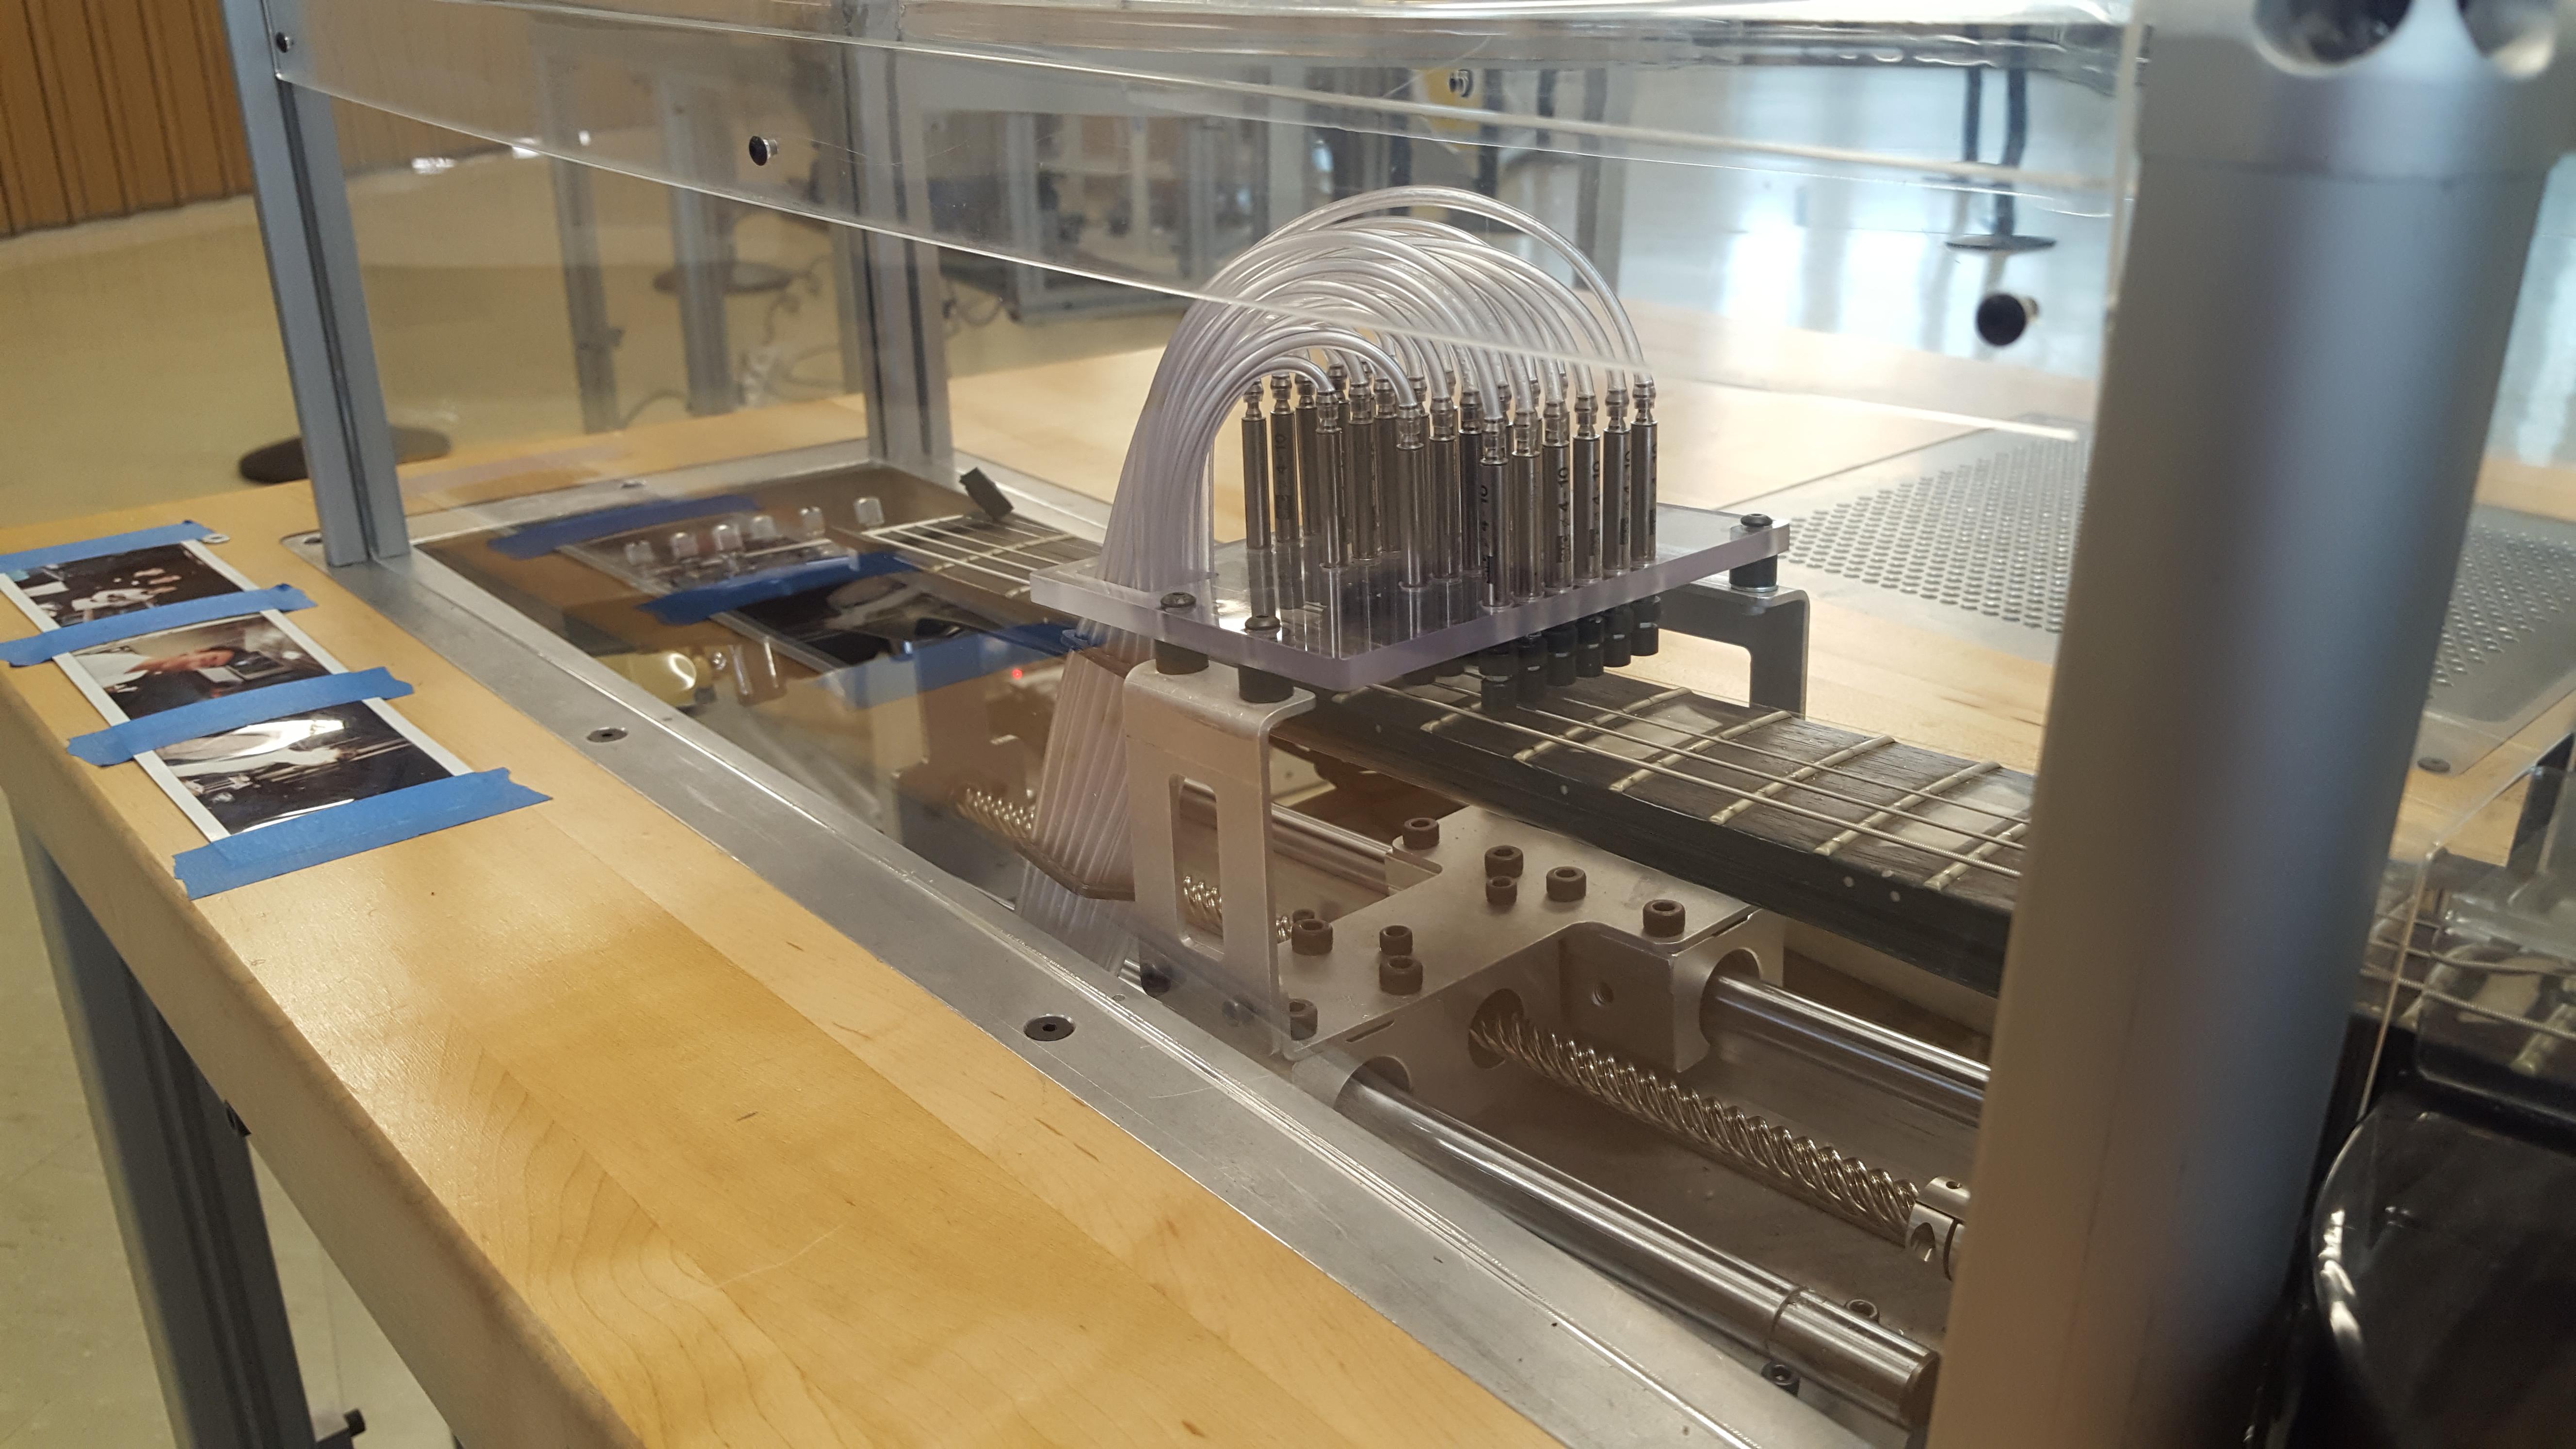
The Air Guitar is a self-playing electric guitar. It has a rack of 24 pneumatic pistons that it can move along the neck of the guitar. Using exclusively hammer-ons, it can play any MIDI file, automatically calculating a tabulation that minimizes motor movement. It includes a synthesizer to play backing instruments.
I built the Air Guitar with Jack Pearson and Jaela Dorny in high school, as part of the Dos Pueblos Engineering Academy. This blog post is a summary of that work. You can read a more detailed write-up here (which includes my other DPEA work), or browse weekly entries here.
Background
We inherited the Air Guitar project from the previous year’s seniors. The original vision was for the guitar to fret chords while a player strummed the strings in rhythm. At the time, the project was an MVP capable of playing a basic, hard-coded Twinkle Twinkle Little Star. It had a long way to go, and as the year progressed, the vision changed to a fully self-playing guitar.
The MVP revealed a number of mechanical and electrical deficiencies in the project. We made many changes to improve its ability to play, followed by a full rebuild, once we embraced full-self-playing. We’ll begin by discussing those changes.
Faster Motor
We began by replacing the stepper-motor, used to move the pistons along the neck, with a 3-phase motor. The motor was controlled by an ODrive and could move the carriage very quickly with extremely high precision.
Pistons
When the pistons retract from pressing a string, the string would ring. This is similar to a pull-off, as a human player might use. But that’s not always desired, so we needed a way to stop the vibration in a string.
Our first attempt was to add 6 “mute” pistons. These were placed at the end of the strings by the bridge, and had pads of neoprene, a material widely used to dampen vibrations. Unfortunately, it was very difficult to make the pistons the right height. They would either induce a bit of vibration when extended, or not apply enough force to dampen it.
When we decided to embrace full-self-playing, around Week 24, we moved these 6 pistons the main carriage. This gave us 4 rows of pistons, capable of playing 4 frets. This made a huge difference in our ability to play songs.
To stop pull-off vibration, we inserted a strip of neoprene under the strings at the nut. This meant we couldn’t play open strings, but that wasn’t an issue as you can’t play an open string with a hammer-on (our only way of playing).
Piston tubing was organized using tube holders 3d-printed out of TPU.

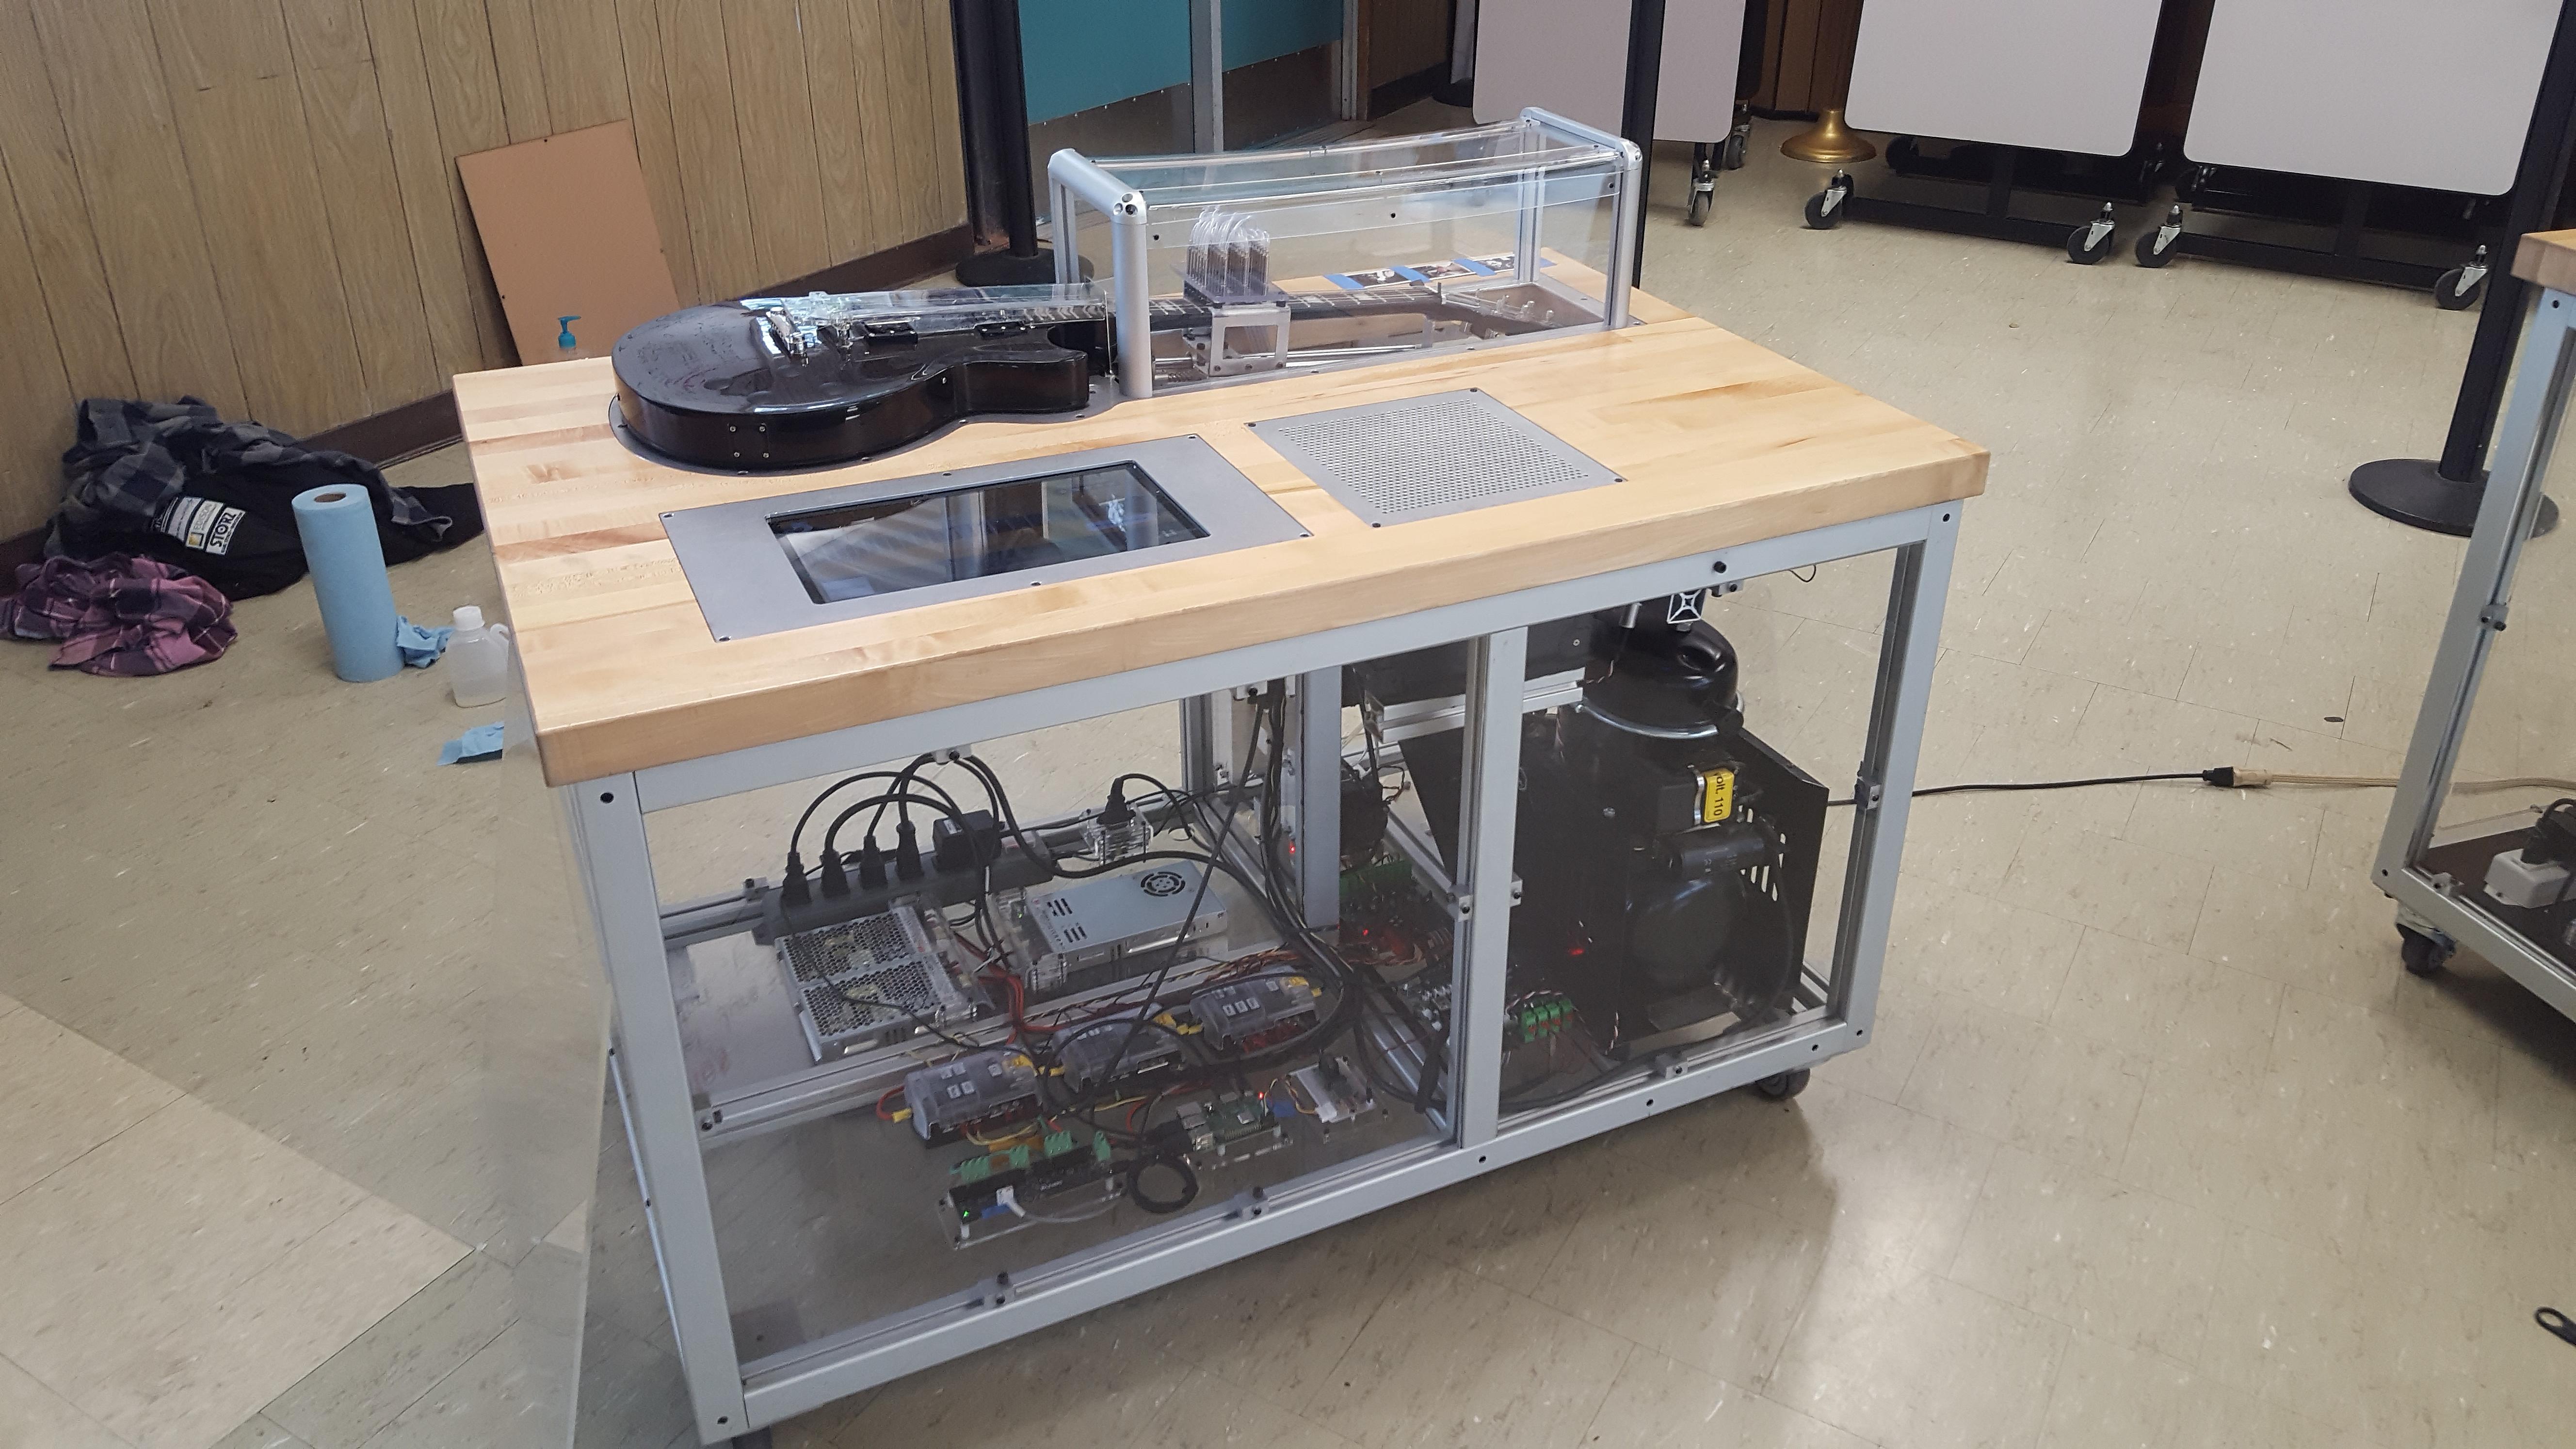
Redesigning the Frame
After deciding on full-self-playing, we took almost the entire Guitar project apart. The old design had a large cubby-hole for someone to sit in as they strummed, and we needed that space for our electronics. We were able to reuse a lot of the 8020 parts, only needing to machine one new one.
We also redesigned the carriage to be significantly lighter, and corrected its angle to be more parallel the neck.
To prevent people from hurting themselves (or the Guitar), we built and installed a cover over the things that moved. This also reduced the noise of the pistons.
Audio and Electrical
We added a compressor petal to improve the sound of our guitar. To support playing backing tracks, we also added a synthesizer and a 4-channel mixer to feed into the amp.
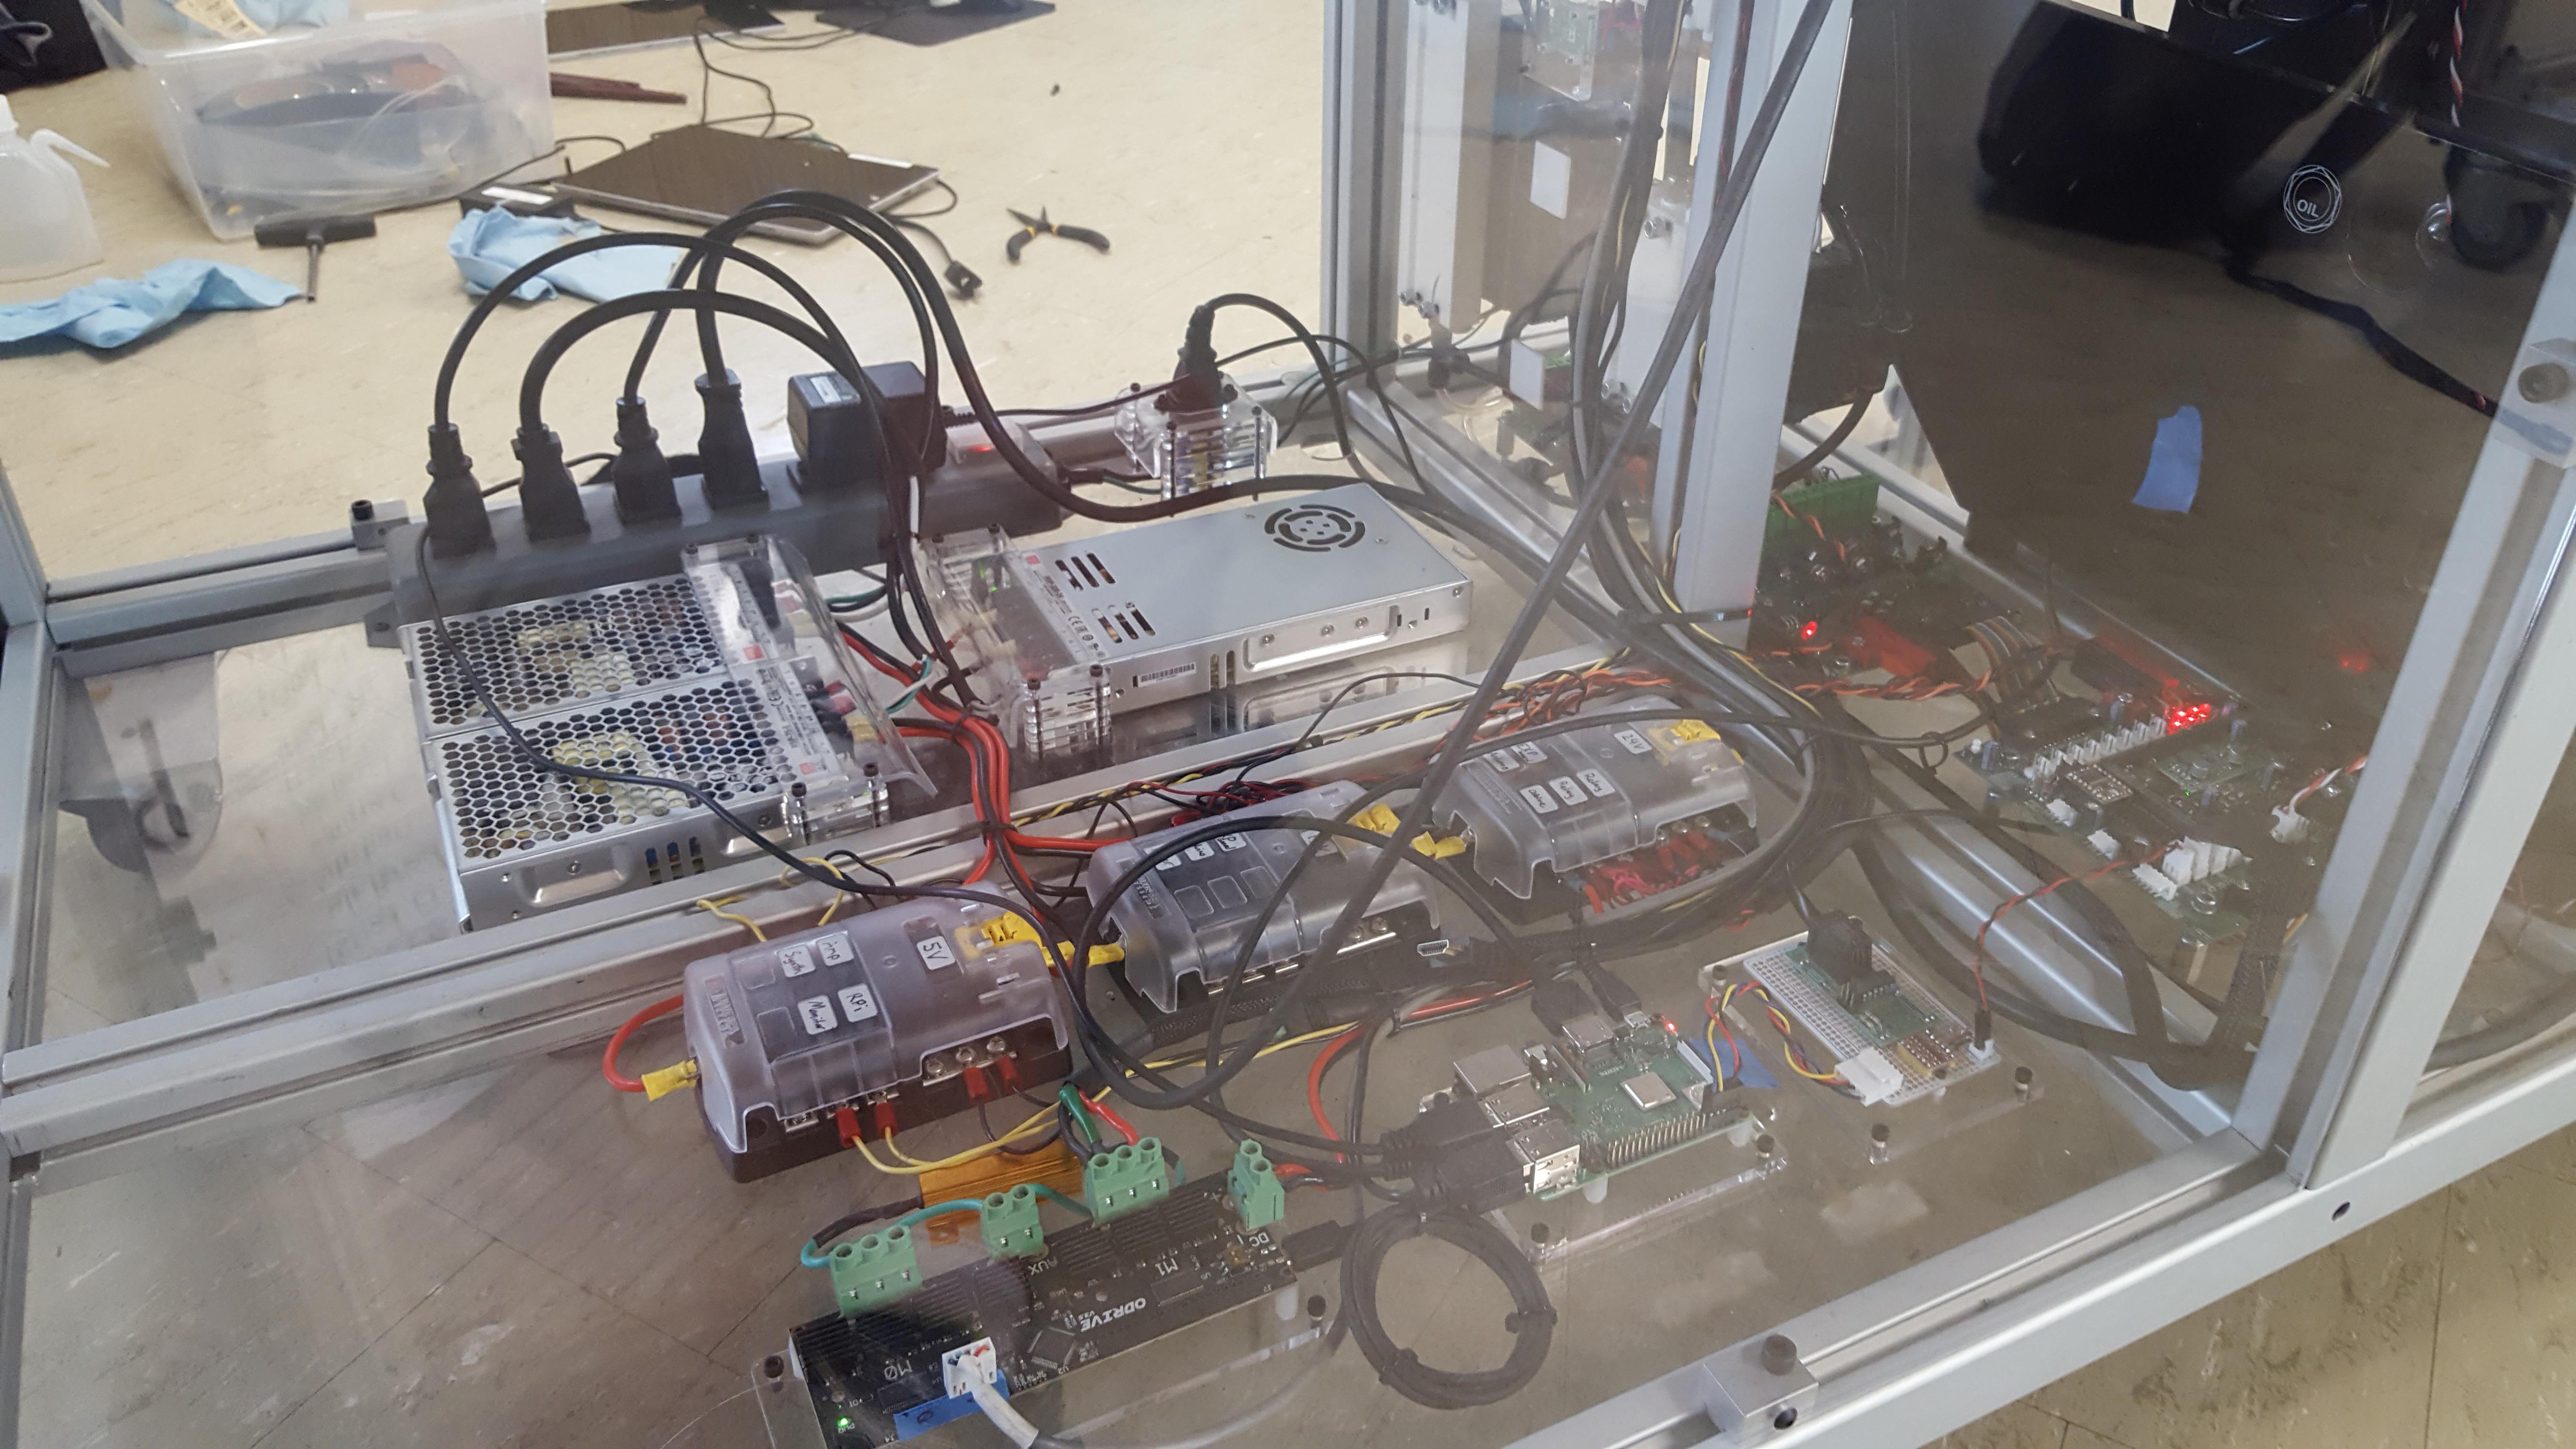
Adding 6 more pistons meant 6 more 24v solenoids. We connected our Arduino with RS-485, allowing us to use camino.
All of these changes meant rewiring and organizing the entire project, adding a 5v power supply, and an additional acrylic panel for electronics.
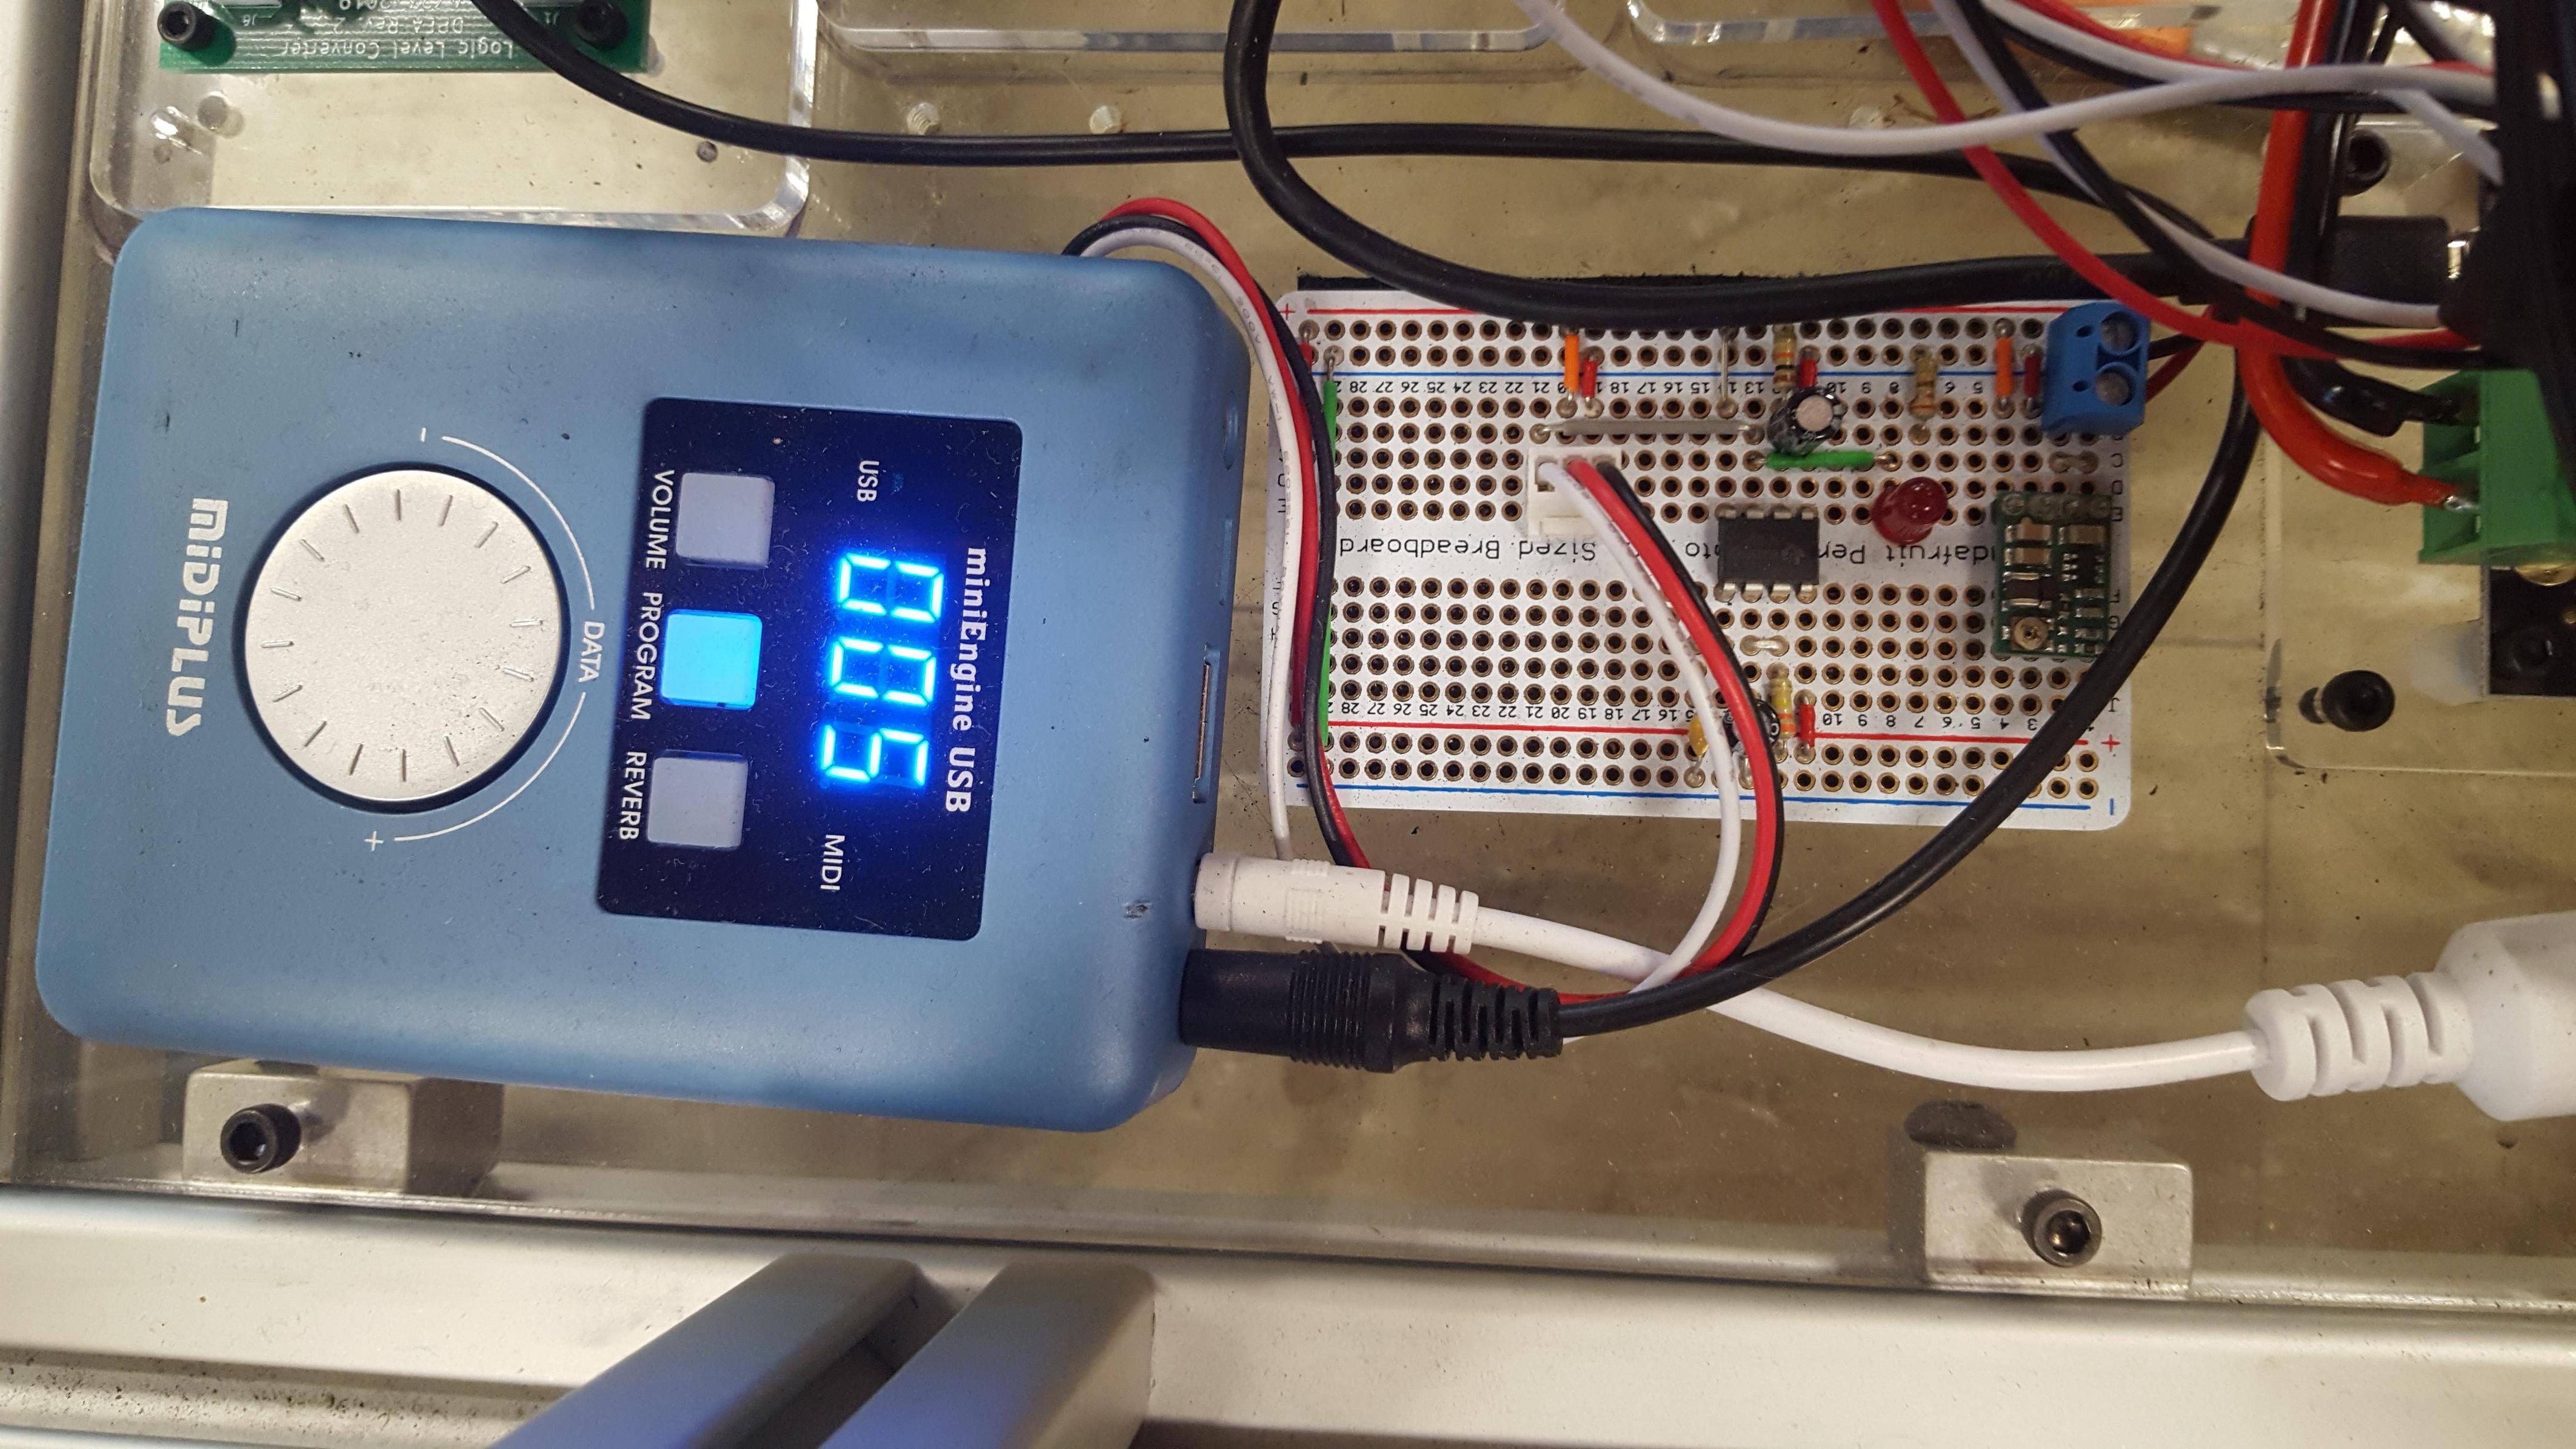
MIDI Synth board
Nowadays, most synthesizers are entirely software packages. However, we were unsure about the performance implications of a software synth on a Raspberry Pi, so we decided to use a standalone one we found on Amazon. It ended up being super simple to use, but it took a while to get it usable.
We connected the synth to our Arduino, wiring our own MIDI connector to one of the Serial-enabled digital pins. We also had to remove the battery from the synth, and replace it with a voltage regulator that could be powered from our 5v power supply. In addition, we had to use a 555 timer to create a monostable circuit, fooling the synth into thinking we had pressed the “power on” button for 2 seconds, when the project is first turned on. I ended up soldering this circuit onto a breadboard PCB. A copy of this set up was also used in another project.
Guitar Modifications
We modified the wiring inside the Guitar to get rid of the Volume and Tone knobs. We moved the location of the audio jack to the back of the Guitar. We added capacitors to remove high-frequency buzzing being induced by the ODrive and picked up by the pickups.
Lastly, we ended up replacing the truss-rod. In an attempt to adjust the angle of the neck by tightening the truss-rod, we stripped the socket. We tried further tightening it with a pair of pliers, eventually causing the truss-rod to break out and tear off most of the fretboard. This revealed that the truss-rod was bent beyond repair. We took the fretboard completely off, removed the truss-rod, and ordered a new one. The new one required us to dremel and route a larger slot. We re-glued down the fretboard and repainted/sealed any obvious broken paint spots.
In terms of software, the project ran on a Raspberry Pi, and was programmed in Python. To interact with the piston solenoids and MIDI synthesizer, the Pi was connected to an Arduino Mega via RS-485. It controlled the Arduino using camino, a Python-Arduino communication library I had developed earlier that year. The Arduino has callables to set the pistons, and forward MIDI to the synthesizer.
The most complicated part of the project (that I worked on) was how we converted a MIDI file into motor and piston movements. We will now discuss that.
Emulation
But, before we started programming the actual guitar, we created a few software emulators. This sped up development time (by avoiding hardware setup/calibration cycles), and allowed us to work when we didn’t have access to the guitar (being used by someone else, or was disassembled).
We added an EmulatedArduino that would send MIDI messages to the OS’s MIDI Synth, instead of the external synth or
pistons. And we also added an EmulatedODriveAxis that used linear interpolation and pre-recorded timing data
to simulate motor movements and delays.
Processing MIDI
The first step in playing a MIDI file, is reading and processing a MIDI file. We used
mido for this. We performed some standardization, such as replacing
note_on(volume=0) messages with note_off(), and monitoring tempo_change() events to replace all durations
with seconds.
MIDI presents a song as a list of up to 16 channels. We defined which channels (or instruments) to play on the Guitar.
The rest were to be passed along to the synth. Going through the notes to play on the Guitar, we converted the messages
into a list of Frames (a period of time when no notes change). A Frame also kept a list of non-guitar messages,
to be forwarded to the synthesizer at playtime. We passed this list of Frames on to be tabulated.
Tabulation and Chord Simplification
Tabulating a Frame results in a Tabulation (a list of ways to play a Frame). We defined a number of
HardwareStates (motor and piston positions), with various restrictions on what notes they could play (in some
positions, certain pistons sounded bad). Tabulating was thus a matter of seeing which HardwareStates could play
the Frame. There was also restriction that the motor was only allowed to move if the previous frame was empty.
Otherwise, sustained notes would be played again.
If there was no way to play a Frame, we would attempt to simply it. Chord simplification is a little complicated,
and was programmed by Jack. It utilized the powerful music21 library to perform
chord analysis and determine which notes were “least important”. To avoid replaying sustained notes, removing a note
from a Frame also removed it from following Frames (until it was naturally released).
Once we had at least one way of playing each Frame, we passed it along to the pathfinder.
Choosing an Optimal Tabulation
There might be a lot of ways to play any given Frame. Suppose it contains a single note. That note could potentially
be played by any of the 4 rows, on any of the 1-3 strings it appears. We want to minimize motor movement between
Frames, as this introduces delays. To do this, we constructed a directed graph of all possible paths through a song,
weighted edges by motor movement time, and used Dijkstra’s algorithm to find the lowest-weight path.
The graph begins with a single start node. Then, for each Frame, we create a node for every possible Tabulation
of that Frame. We connect the nodes from the previous Frame to the nodes in the next if they share the same motor
position or the motor can move (no notes are pressed). The weight of the edge is calculated as the time it takes the
motor to move between these positions, minus any pauses included in the MIDI (making it free to move when no note
will be played for a while). We previously recorded the time to move between any two frets. The final Frame
was connected to an end node.
Therefore, a minimum path between start and end would play every Frame of the song, and minimize the time spent
moving the motor.
In short, given a MIDI file, the following code finds a list of Tabulations to play it optimally on the Guitar:
midi = StandardizedMidiSong("path to your file...")
frames = Framer.generate_frames_from_midi(midi, guitar, midi.num_tracks == 1)
song = Song(frames)
path = song.get_path(guitar) # pass a Guitar object to use its the motor data for weighting
Some more complicated MIDI files can take upwards of 30 seconds to process. To speed things up, these paths are
computed once, pickle‘ed, and saved to disk.
Tying it all Together
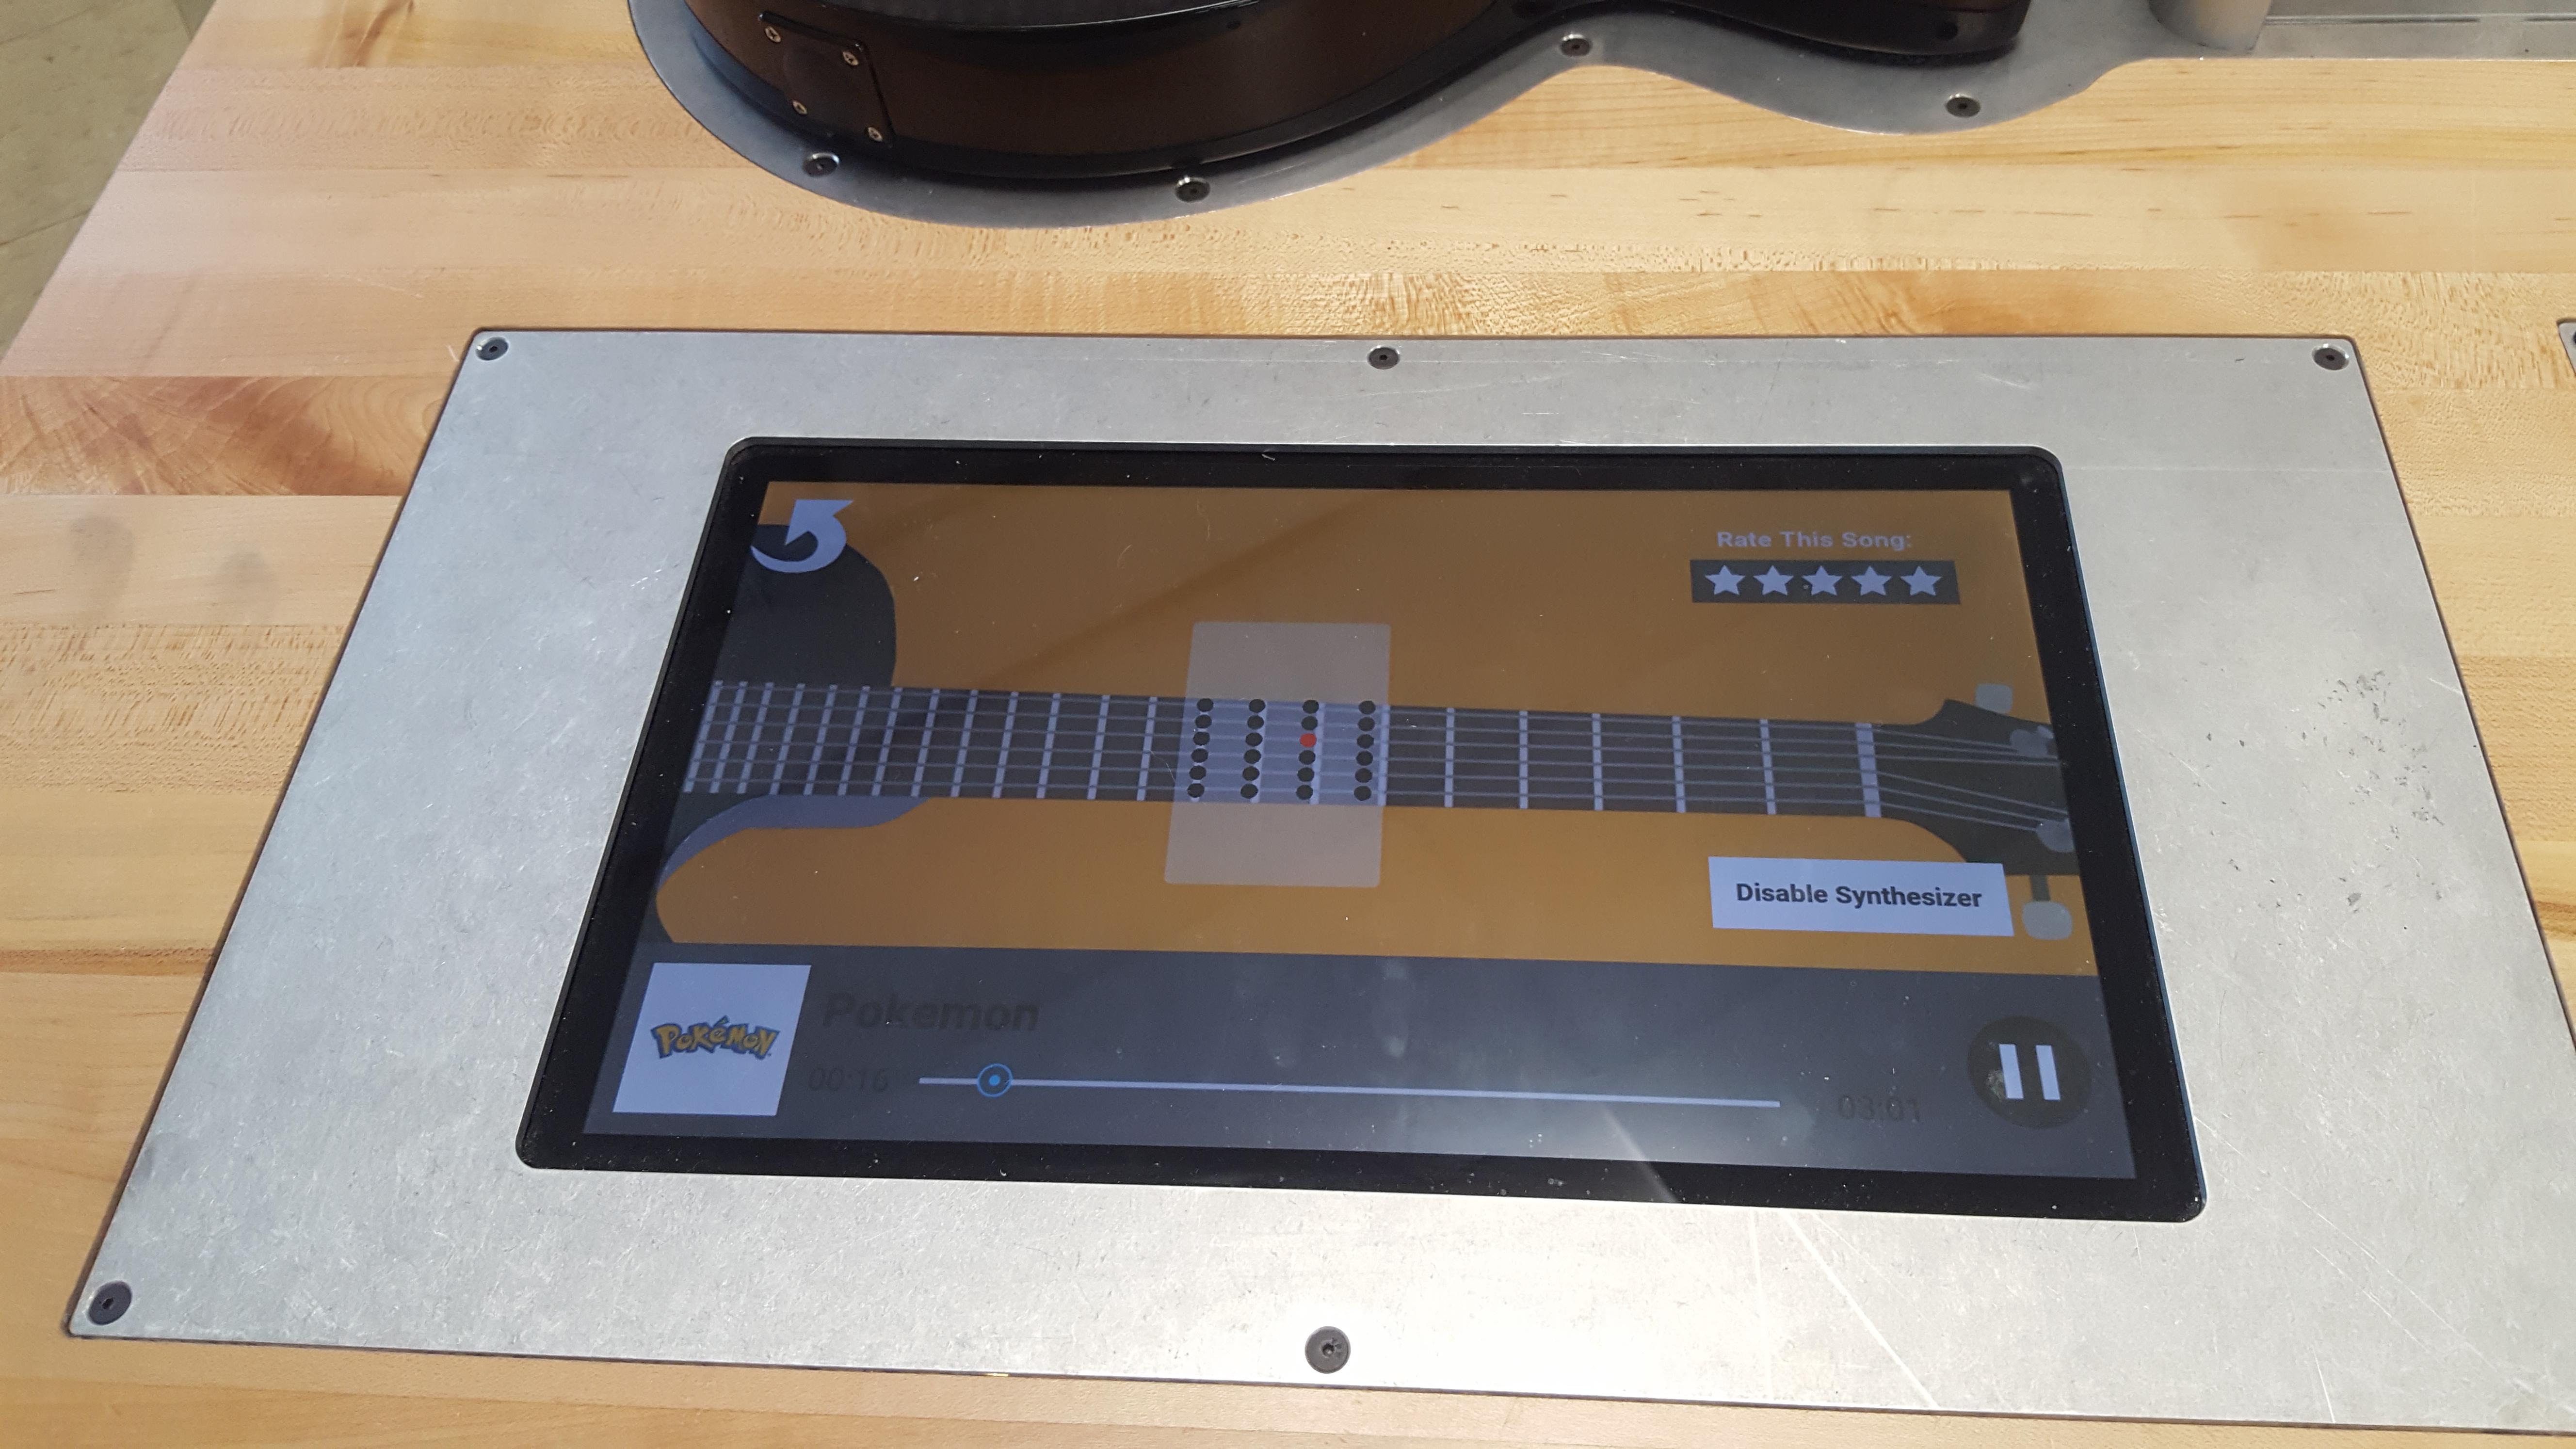
We built an interface around the hardware, making it easy to play, seek, and pause a song. This was run in its own thread, communicating with the GUI using threading synchronization primitives. We also exposed a way for the GUI to read the current position of the motor, and state of the pistons.
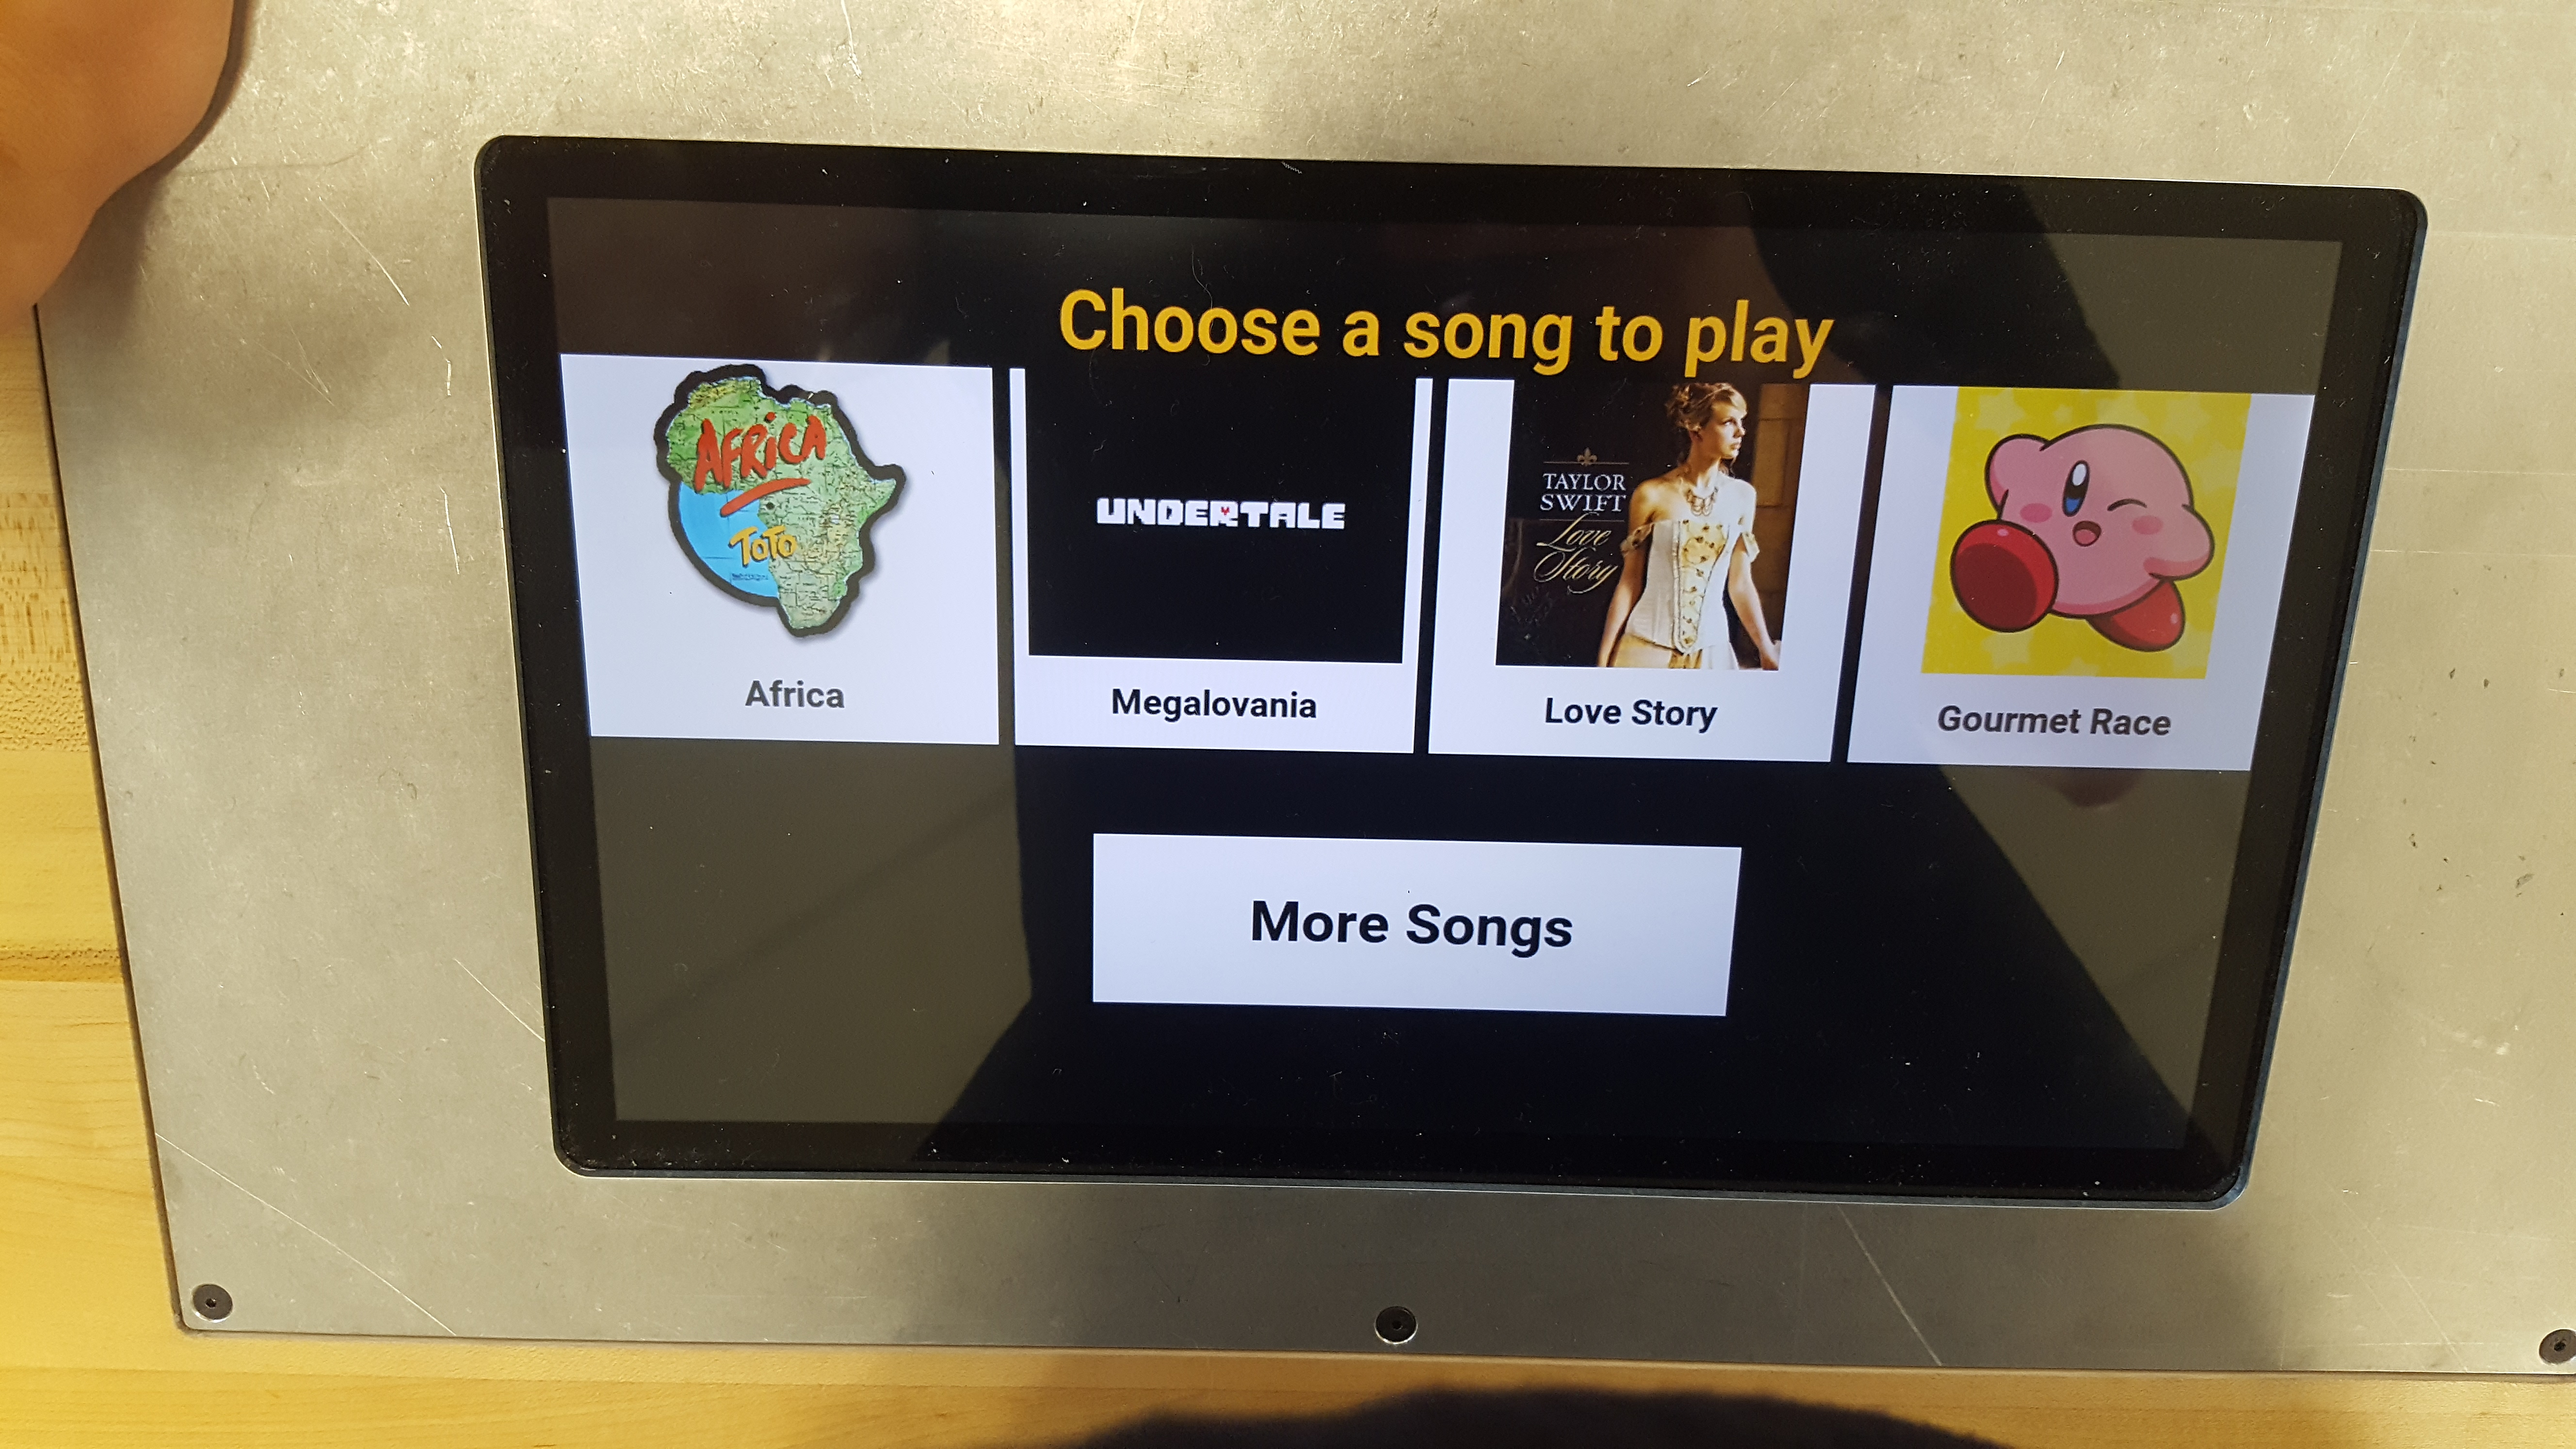
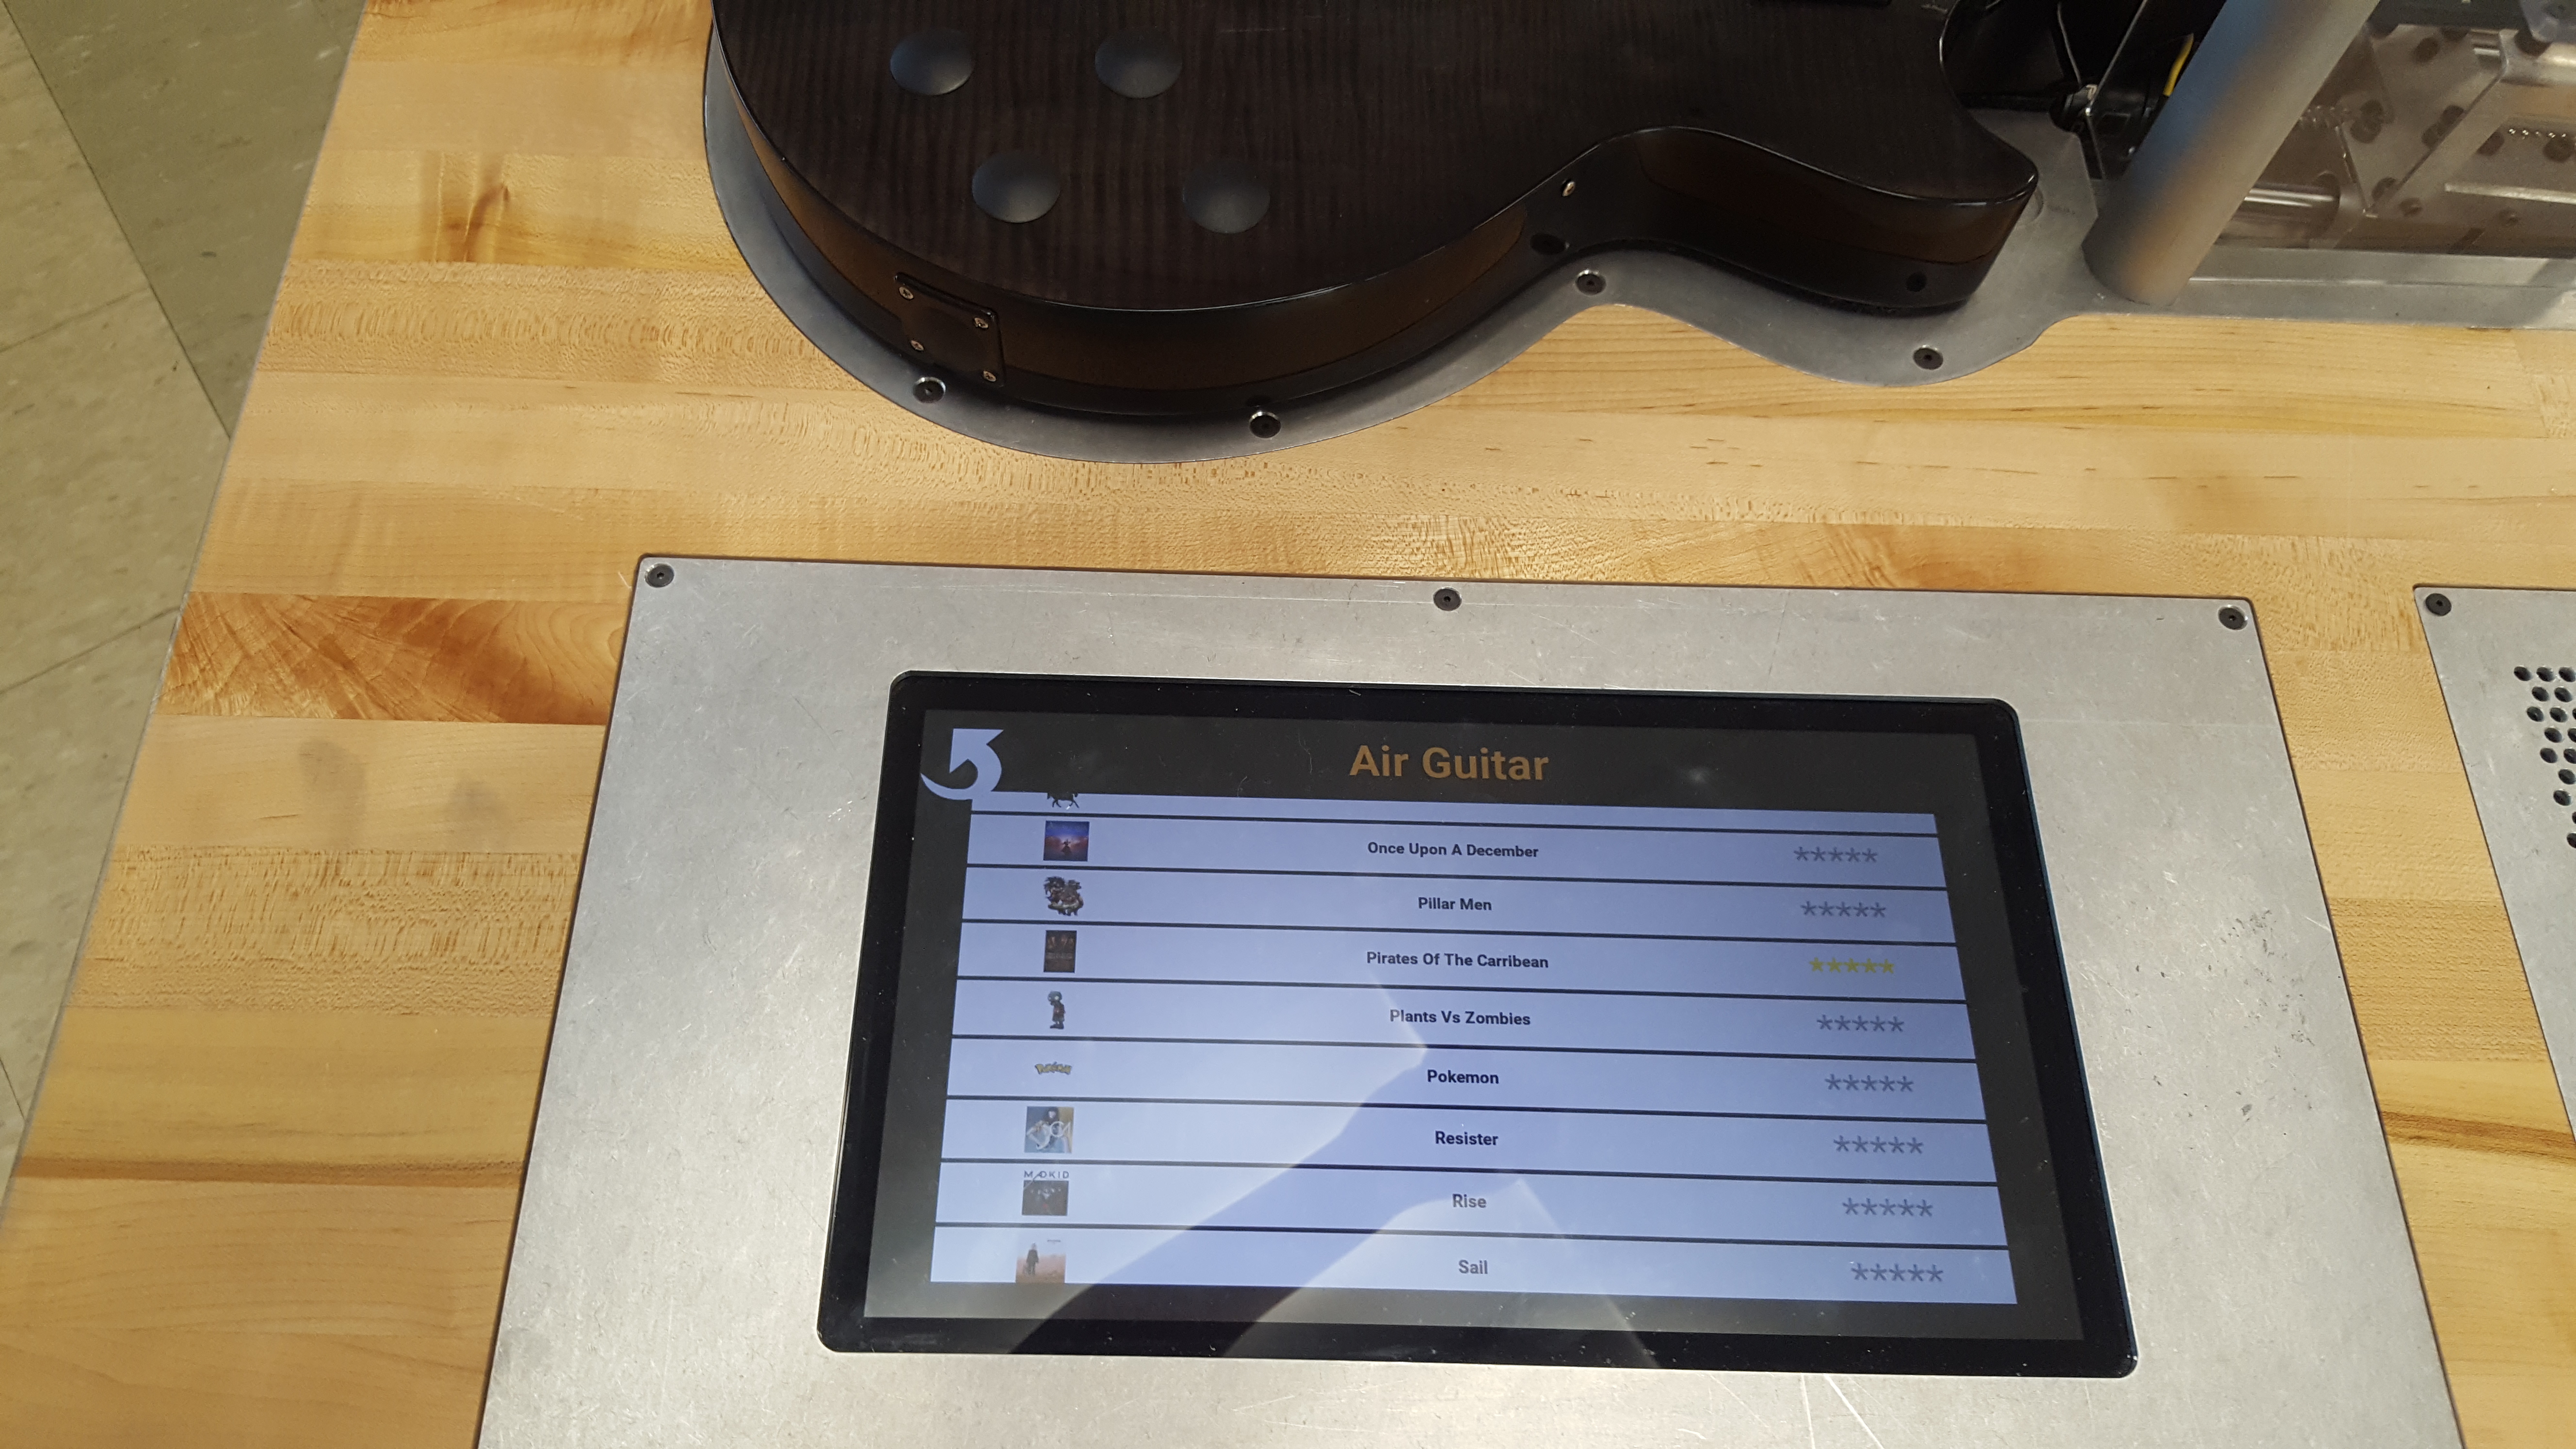
The GUI was created mainly by Jack Pearson. It was written using Kivy. Features include:
- Live animation of Guitar
- Ability to seek through a song
- Song rating system, powering a Best Songs screen
- Album art
That’s it! As a reminder, you can check the more detailed write-up here. And of course, feel free to email me with any questions.