Controlling an Arduino from Python
There are a lot of tutorials online explaining how to control an Arduino from a computer using Python.
Unfortunately, many of them are outdated (for Python 2), don’t work on Windows/Linux, or are hard to extend
to your use case. In this post, I’ll show you how to control an Arduino from Python using
camino, which offers fast performance over a simple API.
Perhaps the most important fact about camino is that we don’t need to do anything
special in our loop function: camino runs entirely in the background!
Getting Started
To get started, we’ll install camino on our computer and upload the CaminoExample sketch to our Arduino.
This will allow us to perform basic operations like pinMode, digitalRead and digitalWrite.
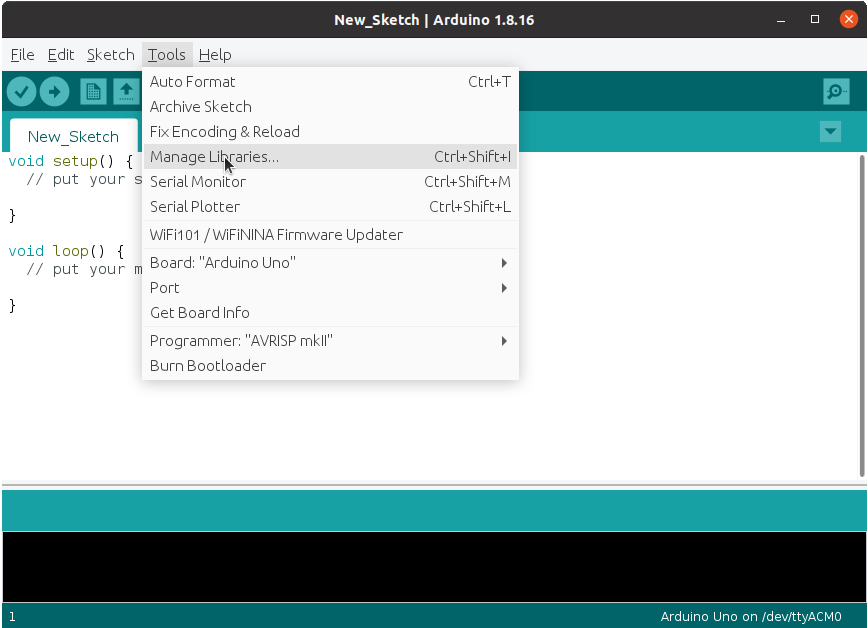
First, open up the Arduino IDE and connect your Arduino. Then, install the Camino library from the
Arduino Library Manager:

Then, open the CaminoExample sketch, and upload it to your Arduino:

Take note of the port that your Arduino is connected to. You’ll need this later.
To install camino on your computer, run:
pip install caminoBasic Usage
Now that we have everything installed, we can start using camino to control our Arduino. Make sure that
your Arduino is plugged in, with the CaminoExample sketch uploaded. From Python, we will connect to the
Arduino, and then make the
builtin LED
blink.
First, we create an Arduino object that is connected to the right port.
from camino import SerialConnection, Arduino
connection = SerialConnection(port="/dev/ttyACM0")  # Replace with your port from earlier
arduino = Arduino(connection)
Now, we can run some basic commands. For example, we can set the builtin LED to be an output:
arduino.pin_mode(13, 1) # 1 is OUTPUT, 0 is INPUTThen, we can make it blink using digital_write, and Python’s time.sleep.
while True:
    arduino.digital_write(13, 1)
    time.sleep(0.5)
    arduino.digital_write(13, 0)
    time.sleep(0.5)
When running the CaminoExample, you have access to the following built-in functions:
pin_mode(pin, mode)digital_read(pin, out=int)digital_write(pin, value)analog_read(pin, out=int)analog_write(pin, value)
If you want to do something more complicated, you’ll need to add the function to the Arduino sketch.
Adding new Arduino functions to run from Python
As an example, let’s add a function to the Arduino sketch that will do some math. Specifically, we’ll add a function that takes in a number, and returns the square of that number.
First, we’ll add the function to the Arduino sketch. Open up the CaminoExample sketch, and add the
following function:
void square(byte length, byte* data) {
    int x = data[0]; // get the first argument
    int y = x * x;
    returns(y);
}
Then, at the bottom of the file, we’ll add the function to the list of CALLABLES. This is how camino
knows how to call the function from Python. Modify the CALLABLES section to include square:
BEGIN_CALLABLES {
    {"say_hi", sayHi},
    {"add", add},
    {"square", square}, // the first argument is the name to use in Python
} END_CALLABLES;
Then, upload the sketch to the Arduino. Now, we can use this function from Python!
# Recreate the Arduino so it refreshes the commands
arduino = Arduino(connection)
# then run our new function
arduino.square(5, out=int)  # returns 25
This is just a simple example, but it illustrates that you can add your own functions to run from Python.
And remember, you don’t need to do anything special in your loop function, as camino runs
entirely in the background! You can use camino to talk to your Arduino (like check if a
button is pressed), while still using the Arduino’s loop function to do other things.
To add camino to an existing sketch, you’ll need to #include <Camino.h> at the top of your
sketch, add a call to camino.begin(9600) in setup, and then add the CALLABLES section to the
bottom of your sketch. It can be empty if you only want to use the built-in functions.
Conclusion
In this post, we saw how to use camino to control an Arduino from Python. We saw how to use the
built-in functions, and how to add new functions to the Arduino sketch. camino can do a lot
more, so check out the documentation. And if you have any
questions or issues, feel free to open an issue on
GitHub.